Tipster: A Quick Guide to Pushing and Pulling Black and White Film With Lomography Earl Grey
2 12 Share TweetOften we hear that a film has been pushed or pulled. But what does this mean exactly? Today, we are exploring these two techniques. We will go through in which circumstances it is best to use them. The first thing to remember is that once you pull or push your film, you must keep the same setting for the entire roll.
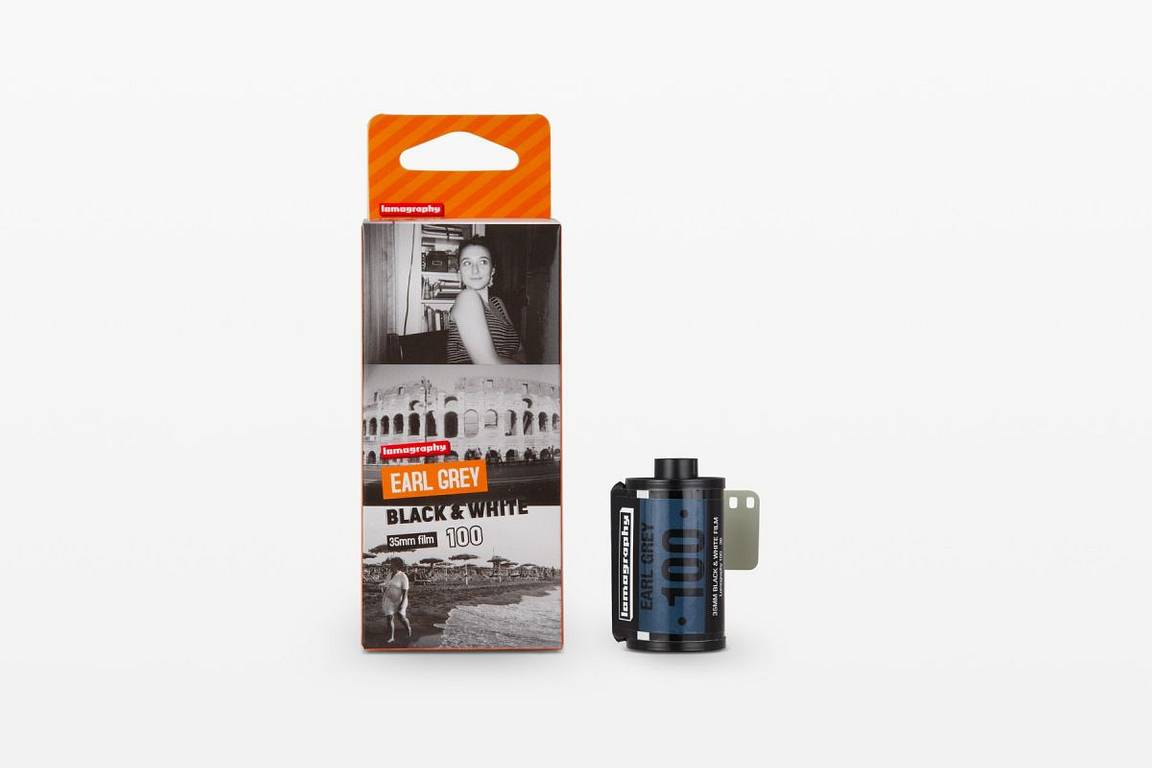
For this tipster, we used Earl Grey B&W 35 mm ISO 100 and pushed at 400 ISO, while for pulling we lowered to 50 ISO . For development, we used HC-110 dilution B. We adjusted the measurements to 500ml of water. By cutting the amount of water in half, we also cut the developer from 31ml to 15ml.


Pushing
The first thing for a photographer to understand is always the light conditions that they will shoot in. When do we need to push? Usually, it is necessary when the light is dim and we need a greater sensitivity in order to shoot properly.
Many circumstances can require an increase of your ISO. This might be because you want a faster shutter speed without compromising your depth of field. Or, if you are shooting later in the day then to safely get the shot without camera movement or shaking you need no less than 1/60 of a second and you are already at the biggest aperture your camera can handle.


According to your film of choice, you have to set your ISO to your needs. For example, if you are at ISO 100, then by setting the camera meter at 400 ISO you are increasing two stops. Keep in mind that you are not modifying the film sensitivity, you are only tricking the meter. So let's say that you are shooting at 400 ISO now and you have moved to 1/125, your shutter speed will cause a one stop underexposure and your negatives will be one stop too thin.
As you have tricked the meter, now it’s time to adjust the development time. You must correct the underexposed areas and overdevelop the negatives. The general rule goes that if you double your ISO, you should increase your development time by 50%.


There are some other suggested times. It can be a 25% increase or 33%. If you can; try different films and perform some testing on your films. That is the best way to determine an exact time. In the Massive Development Chart they also recommend multiplying:
- 1 stop push = (x 1.5)
- 2 stop push = (x 2.25)
- 3 stop push = (x 4.5)
Remember that when pushing, your contrast and grain will increase. Grain is subjective, some people love it and some people do everything to avoid it. Be mindful of what you are doing.
For pushing in this article, we increased the development time by doubling the suggested time and agitated every minute for about five inversions. When pushing at 400 ISO the grain is still fine, if you do want greater grain you should push at 800 ISO or 1600 ISO.
Pulling
Now, what about pulling? Pulling involves overexposure followed by underdevelopment of your film. This technique is employed when you are shooting with a contrasty scene – during summer time between 11.30 am and 4.00 pm would be a good example. You are at the beach and the sun, besides giving you a nice lobster tint, is also very strong for your film.
Pulling can be applied if you want to add intentional motion blur using a lower shutter speed. Depth of field might also play a decisive role in your choices.


Here as well, there are many circumstances when pulling is an adequate solution. To be able to pull, you need a camera that will let you set a lower ISO. Again, we used Earl Grey B&W 35 mm ISO 100. Now, from a 100 ISO we need to cut one stop down which gives us 50 ISO. Therefore, by cutting the ISO in half you’ll need twice the exposure of a one stop increase.
Since we are in a situation where shadows are in danger of being completely dark; by overexposing we make sure to maintain the detail, even in the darker areas. Once we get to the darkroom for development, the film must be underdeveloped.
This will preserve the highlights. An average of 25% is the decrease cut in time suggested for pulling. When pulling your film the resulting image can appear sharper with almost no grain and will, overall, be more flat in the tonal range.


In analogue photography, it is best to expose for shadow and develop for the highlights to achieve a good tonal range in your photos. It is important to remember that exposure will affect shadows more than highlights while development affects the highlights more than it does the shadows.
Know What You Need
Pulling and Pushing are effective ways that can help maintain detail at the right time of the day. However, they both have their limitations. If you walk around and take your photos throughout the day, not every lighting situation is ideal for the roll that you are currently using.
Nevertheless, when dealing with self development, each phase of the process is a delicate one and all of these factors will inevitably influence the outcome. When we took the films out of the canister we could clearly see the difference in the two negatives. The pushed film is much lighter, whereas the pulled negative is quite dense.


When developing the pushed or pulled film, the first variable to consider is the length time to develop and the dilution you are going to apply. These variables will certainly play a key factor in your result. Could a very slightly diluted solution help the contrast in your pushed film? Or is adjusting the agitation enough to balance the contrast? Especially when pushing, it is important to pay attention to the amount of agitation of the film during development to control the grain.
By looking at the tonal range of grays that has come out from the pulled film, the retention of the highlights is quite satisfactory. The contrast is subtle and the grain is fine. Where there is a stronger contrast, it is lively and pleasant and not intrusive at all. The details in the shadows give the picture a good dimension. Overall, pulling is a wonderful technique that is often forgotten, compared to pushing which is a much more common practice in the analogue community.
Pushing is a reliable technique, which never fails to deliver depth and details in the picture. Grain can give character to your image where it’s otherwise flat. As stated in the beginning, it is all about choosing what is best for you on that specific day. As long as you know that there are options for you to choose from.
Which technique is most common in your practice? Do you do self pushing or pulling? Let us know your experiences in the comments below.
written by eparrino on 2022-04-12 #tutorials #b-w-film #tipster #pushing #pulling #earl-grey #analogue-basics


2 Comments