Double the Pleasure: An Introduction to Multiple Exposures
40 145 Share TweetThere is a surprise in multiple exposures that no other photography gives you. Melding images together with the way our memories come to us. Not clear, sharp, individual pictures, but thoughts and emotions bleeding into each other tangentially. When you remember a party, you don't remember a single picture of everyone dancing in the living room. You remember the soft but dirty couch you sat on, the ugly chandelier that lit the room, and the tree you stared at while sharing a cigarette outside. It all melds together into one impression. That's what multiple exposures can do that singles can't. They capture life the way you remember it and not the way it happened.

The Beauty of Multiple Exposures
I could go on and wax poetic as to why I love multiple exposures. I love that they are unorganized and how for me, it's like a gambling addiction. You don't know till you see it from the film lab. I want to shoot what isn't tangible, the things we see in our minds.
I had a sit down with some folks in the Lomo Collective of Austin a while ago. They were interested in taking better multiple exposure shots. I hadn't realized what I knew versus what other photographers knew about it. I’ve only shot film for two years and 80% has been multiple exposures. It's the medium I prefer. In talking with these folks, I began to understand what I have come to know, from my trial and error, about what does and doesn't work for multiple exposures.
Once again, I am no expert. I haven't taken classes or had a chance to work with a mentor. I’d welcome that, but it hasn't happened yet. I do think I have a good grasp of the subject. Part of it comes naturally to me and part of it is from shooting consistently to see what the outcome is. I know how to make the accidents happen. Here are a few of the things we discussed and what advice I was able to offer.

Preparing Your Tools
Folks have written about this before. You always walk the line between great multiple exposures and a blown out shot. Most of my doubles work are done on a camera with an ISO or aperture control. I generally use the Lomo LC-A+ or my Petri Color 35. When you shoot doubles, you want to shoot 1 stop down. That’s a minimum.
On my LC-A+ I will shoot subjects one stop down and my textures 2 stops down. So Provia 100 would have the subject shot at the 200 iso setting and the texture at ISO400. I shoot on slide film, for the most part, and it is less forgiving of overexposure. The color negative film will love you a lot more and allow for more leeway. So if you are just starting out, use C-41 film to get used to multiple exposures. Once you have a better handle on colors and light sources, move on to the pretty colors of X-Pro slide film.


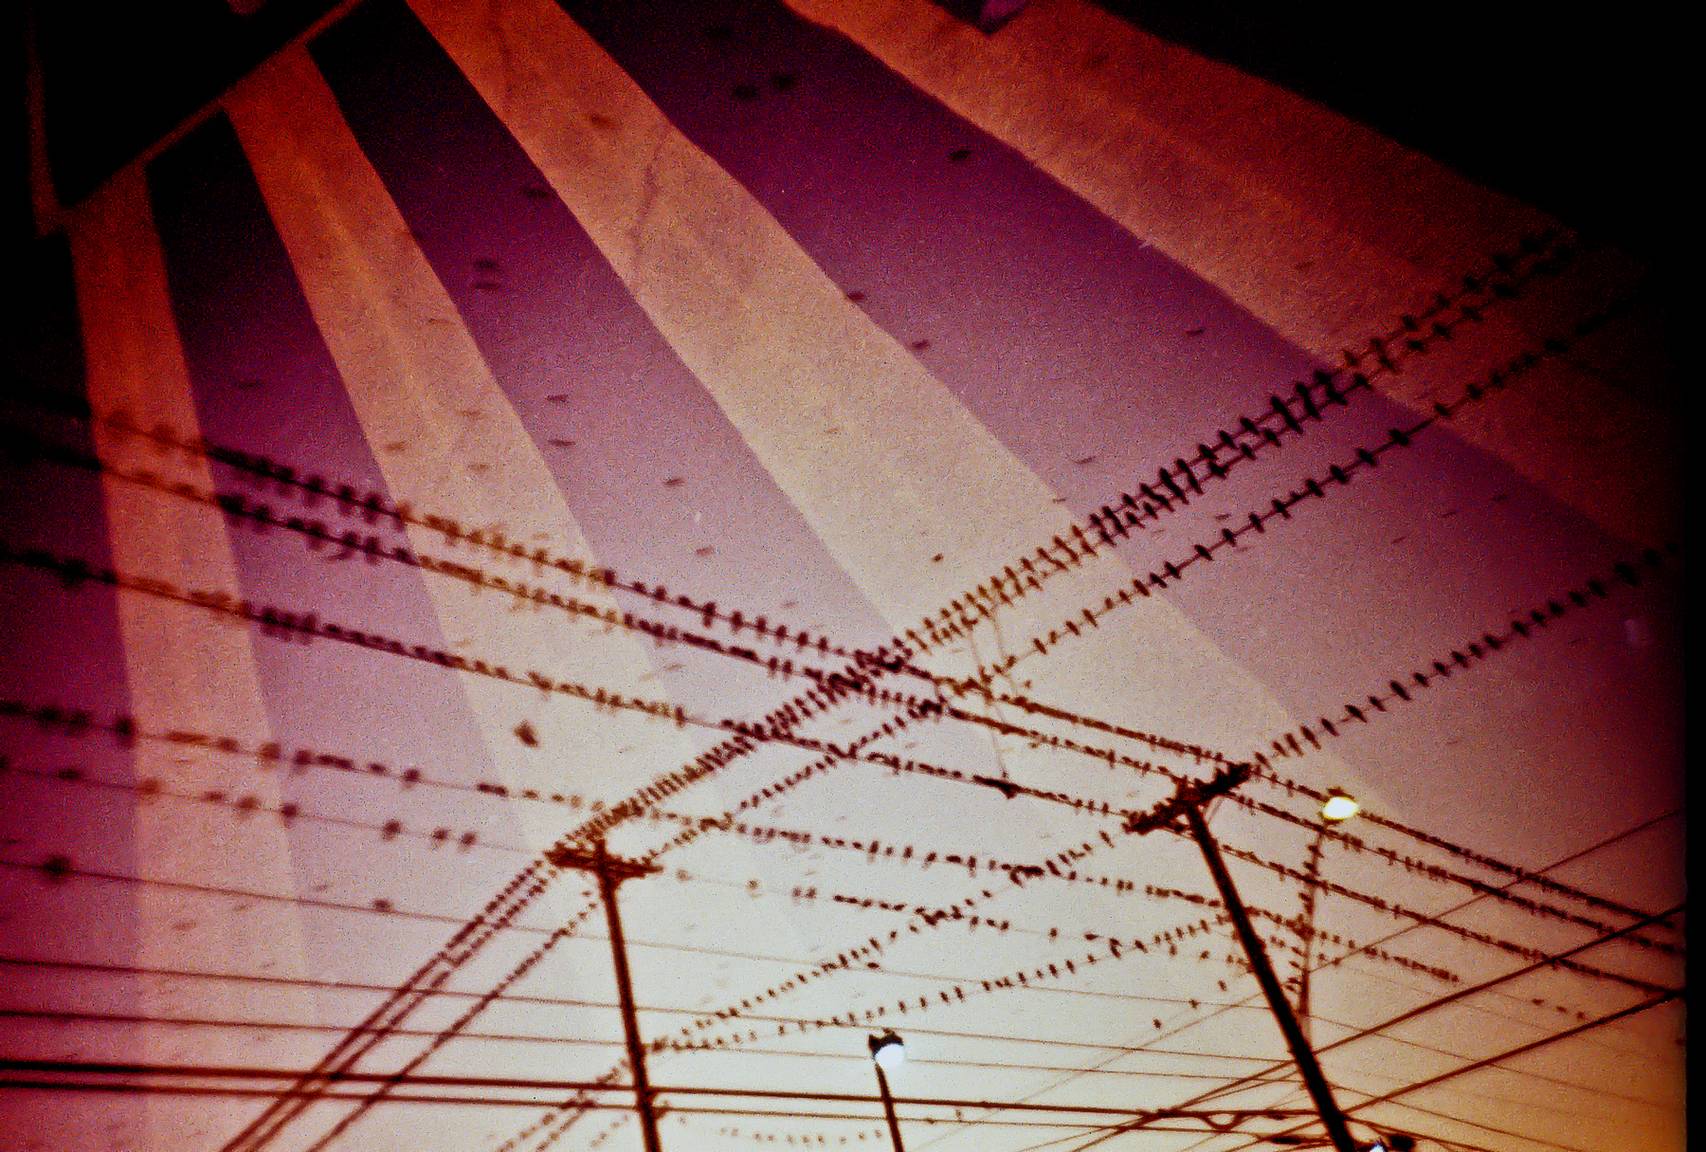
Find Your Light and Dark
What? Of course, film needs light. But here is what I'm getting at. On an exposure, if the first shot has a solid contrast between light and dark, like a silhouette, then you end up with spots on the negative that haven't gotten any love. It's empty. So what happens on the next exposure? You have a negative space to fill. The rest of the shot has already left its impression. In the photo below, we can see inside the mouth, through the red lips, and in the dark space by the cheek. We can’t see through the face, as it is white. So shadows and darker colors are your friends when it comes to doubles. Shooting two bright objects that have a lot of white, yellow, lime green, or just blazing sunlight will end up competing for dominance and both will lose.

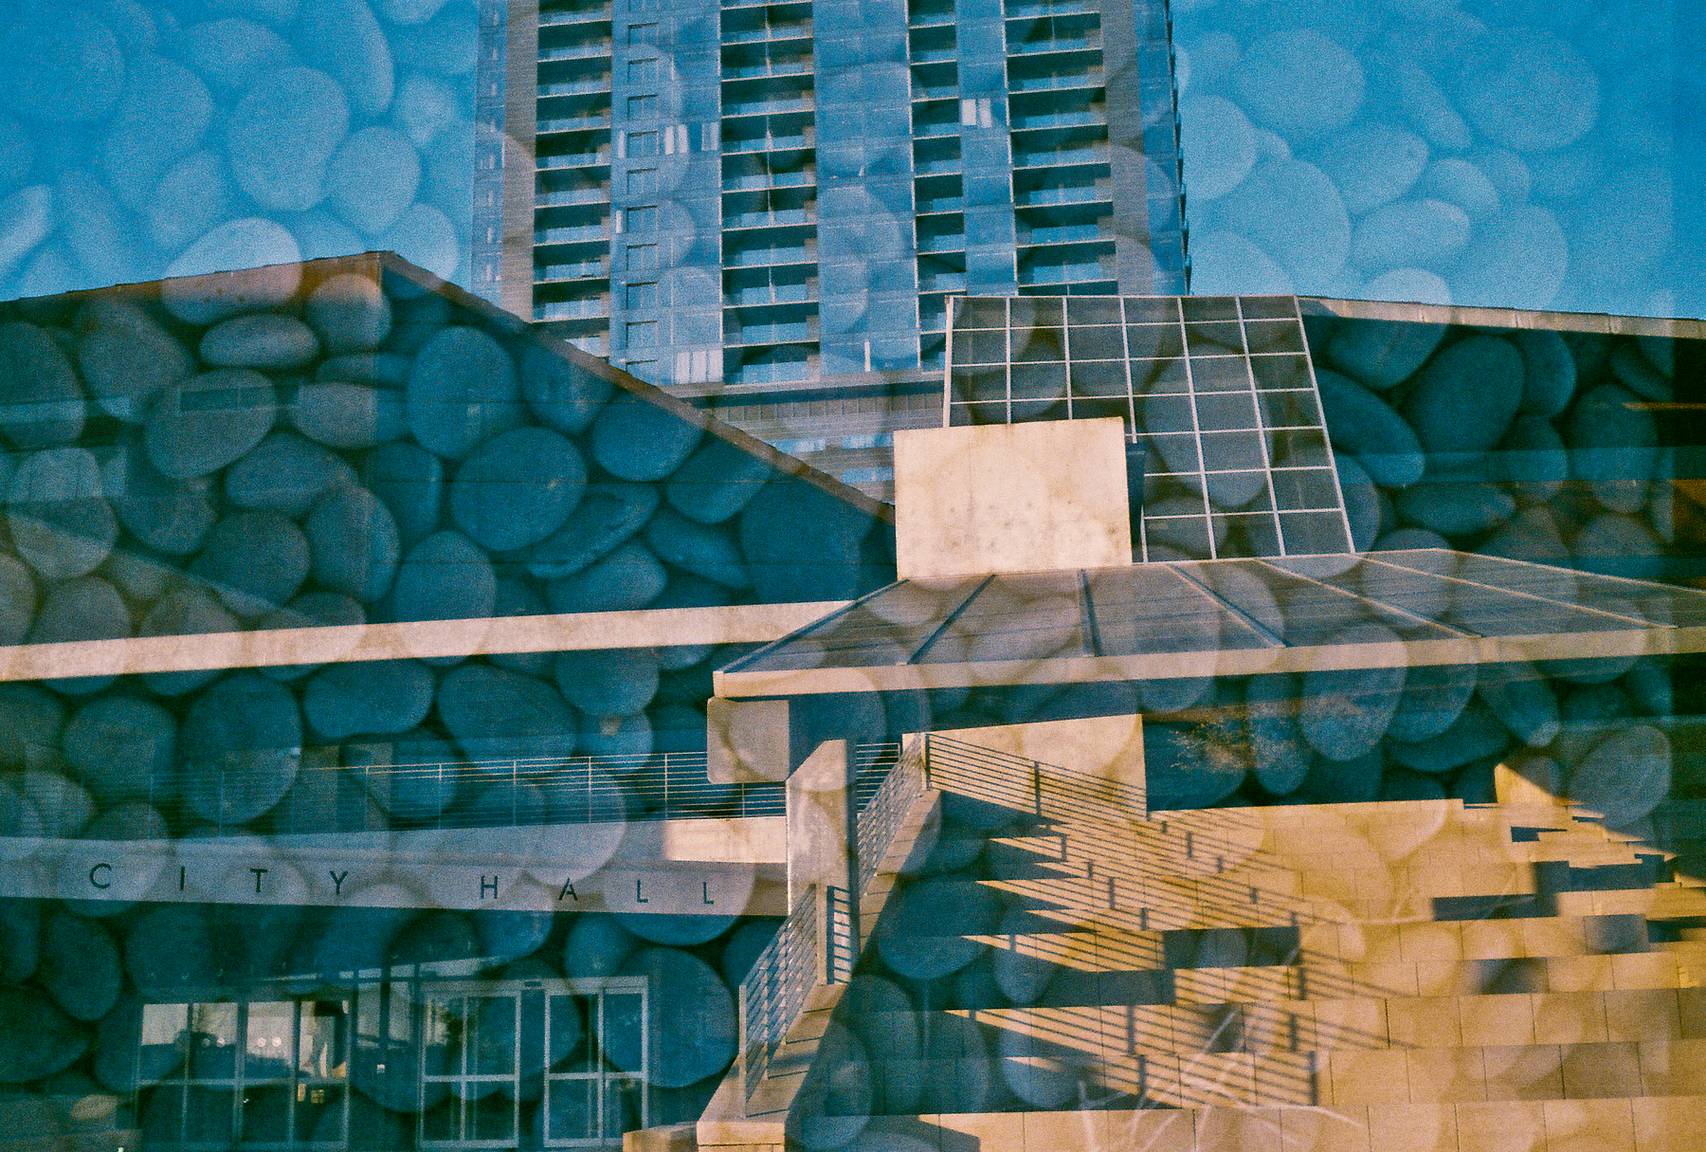
Blending the Colors
When you double your shots you need to decide what you want to be your primary focus. You can blend two images together or use one as a texture. Either way, if you shoot bright yellows, whites, light blues, pastel colors, you will have those colors come through more. Dark blues, greens, reds, browns, and grays will be muted and lend their textures and form more than a true solid image.
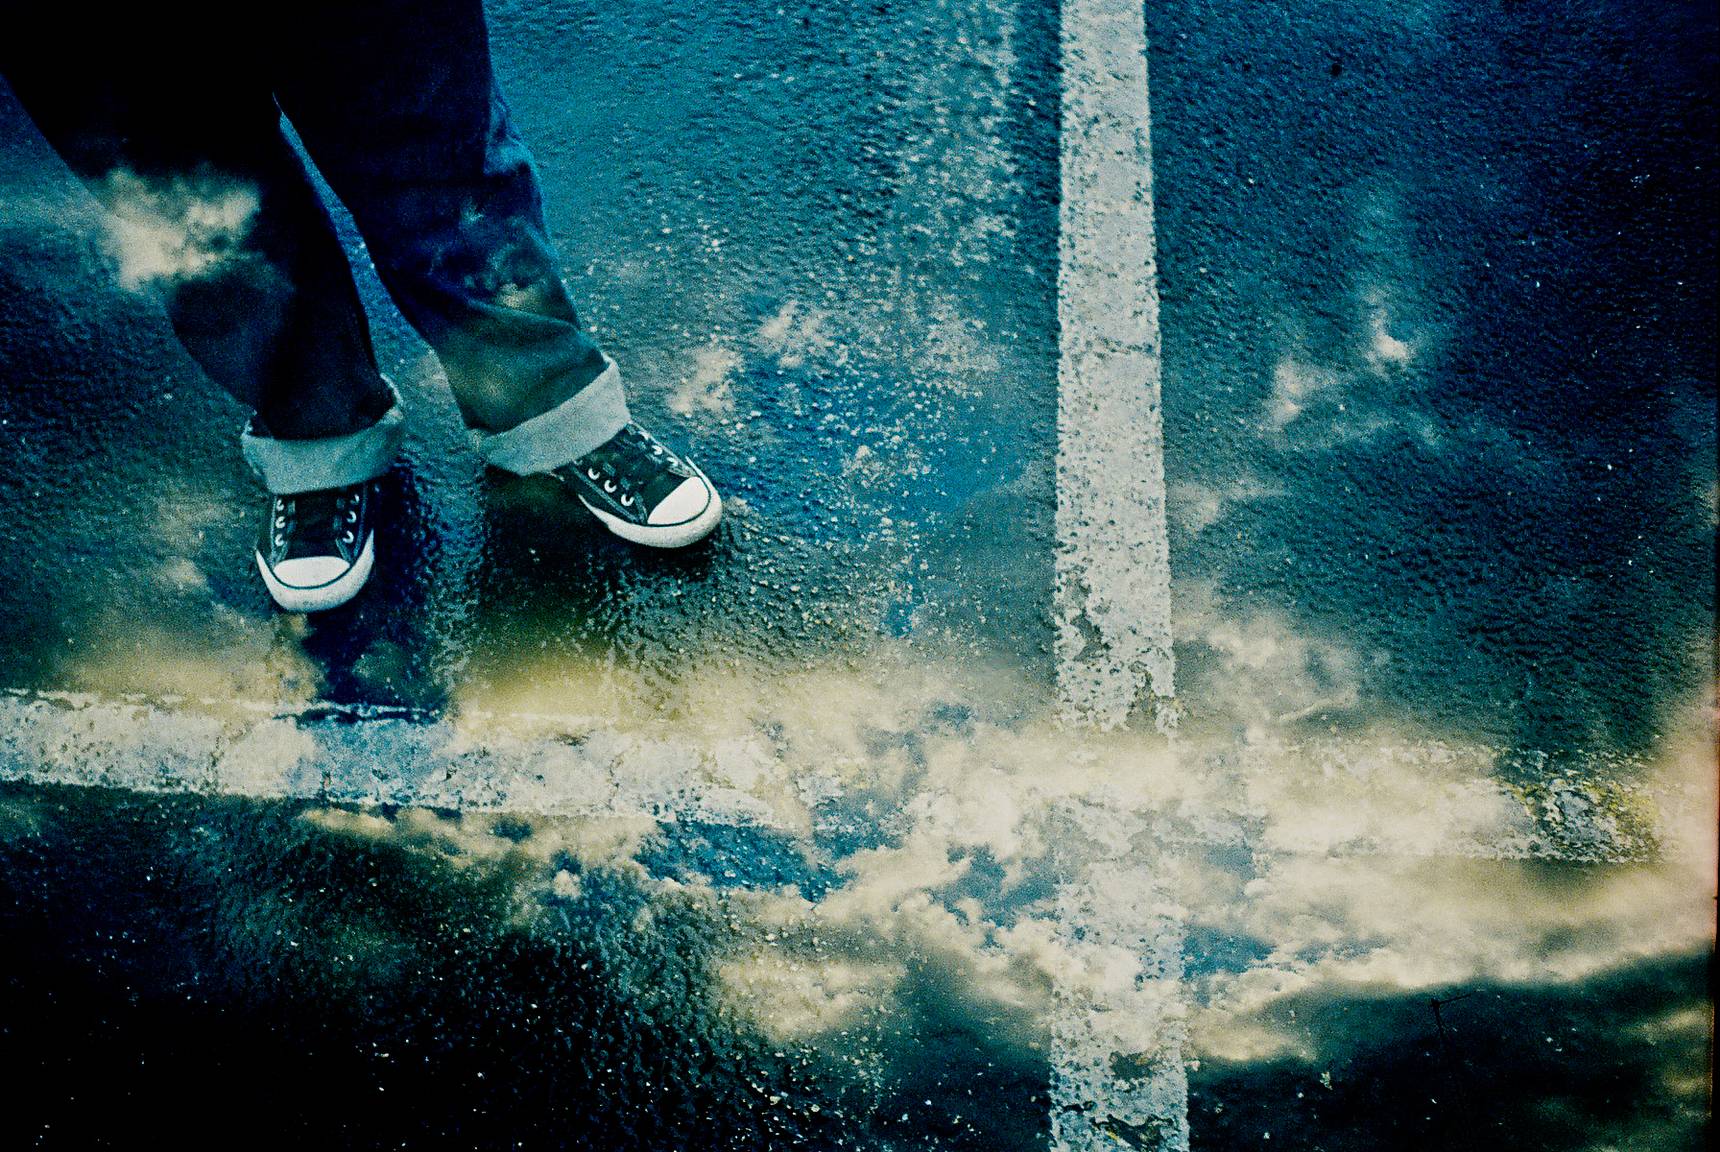


Space and Shapes
I use Negative space a lot in my studio. I have a whole corner of my room covered in black felt to stop any light from bouncing back from my flash. What I end up with is a roll of a friend or model surrounded by negative space. I can reload the roll, where I marked it and shoot all sorts of textures around them. You can really create an ideal environment for doubles with friends with a black sheet or a quick trip to the craft store for felt. Silhouettes can do you a lot of favors too. Shooting into the light to capture a shadow or silhouette can give you a lot of negative space to work with. The door and padlock show up more in the Indian shadow than in the sky. The white sign stands out prominently, as it is reflecting more light.


Current Conclusions
Everything I learned came from trial and error. Some of it is right, some of it is just guesswork. If it works for you too, go for it! This isn’t law. Don’t operate within the borders of what others tell you is possible. It is only through experimentation that we stretch the concepts and possibilities of analogue photography. Take what works for you and discard the rest. Now go out and shoot. While you're out there, multiply the possible outcomes with multiple exposures. Good luck and go get ‘em!
Don't forget to drop Cameron a message and visit his blog for more of his analogue photography insights. Make sure to upload your own multiple-exposure creations to your LomoHome as well!
written by lomo-camkage on 2011-03-30 #tutorials #lifestyle #analogue #color #shadow #look #exposure #future #multiple #double #lomography #pleasure #twice #prophecies #lc-a-top-tipster


40 Comments